Aim
In AWS, we want to create :
- VPC with private and public
- NAT instance / public VPC
- Bastion / public VPC
- Isolated server / private VPC
After implementation:
- Check that the isolated instance is able to ping
google.com, despite its private location
Architecture summary
As the requirement is an isolated instance, in private VPC, pinging the internet, we’ll use this architecture:

How will we check the goal is reached when the implementation is finished?

The check steps will be:
- 0: Manual Check isolated instance has no
Internet IP - 1: Manual connect to bastion through SSH
- 2: Manual connect to an isolated instance
through bastion - 3: Manual ping google.com inside isolated
instance - 4: Automatic: isolated instance call
NAT - 5: Automatic NAT pings google.com,
replacing the network IP with an internet IP - 6: Automatic Google.com answers to
the call to NAT with the internet IP - 7: automatic NAT transfers google.com
answers to isolated instances routing the IP - 8: Manual user can check the call has been
returned: no time to leave!
Implementation in AWS
Creating a key pair
This is needed for accessing remotely to :
- Bastion with Putty
- Private instance with Putty
As a summary Desktop call bastion which call private instance
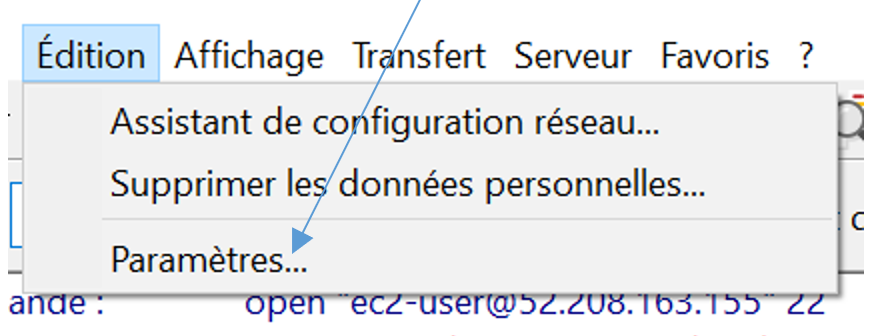
Configuration : EC2 > key pair

Save carefully this file it won’t never be generated again
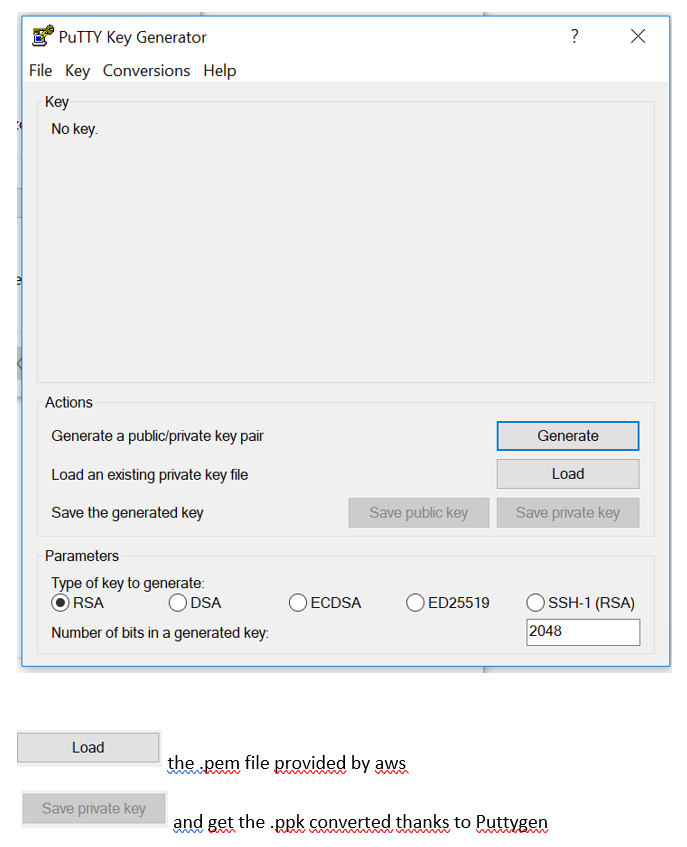
Converting the pair key from .pem to .ppk
.pem is the AWS key format
.ppk is the usual format
We need the .ppk format with Putty
Install on computer puttygen, it is found in Putty package :
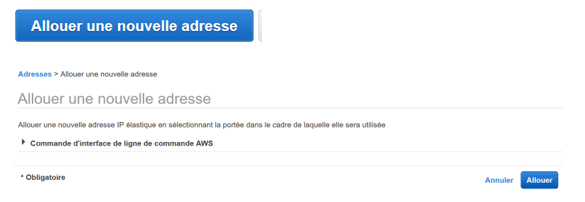
Generate two elastic IPs
Generate a VPC
Shortcut creation:
Configuration: VPC > dashboard > start the VPC wizard

The VPC has been successfully created:

Checks and enhancements of the VPC created by the wizard
In NAT instance

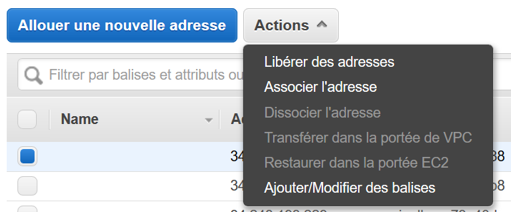
We add the first elastic IP :
Configuration : EC2 > elastic IP > select IP > action > link the address
Its IP is 52.208.163.155
Choose both the instance ID and the private IP :

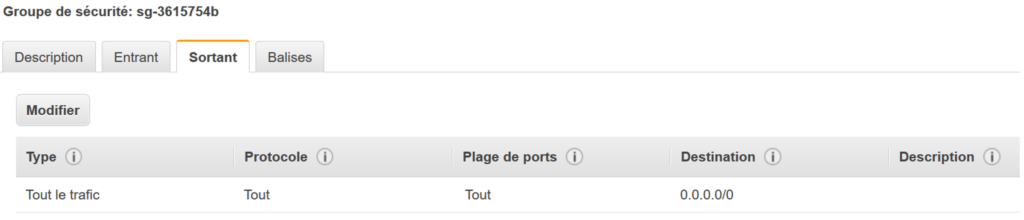
The security group of the NAT instance accepts all the inbound traffic from the AWS network :

And it can communicate in outbound to everybody with all the ports :

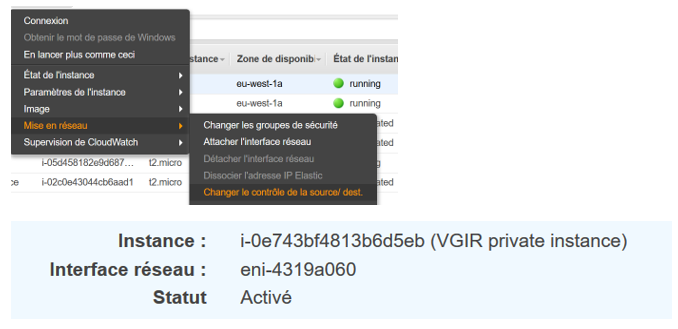
The wizard has set up destination check, and it « activates » the purpose of the NAT :
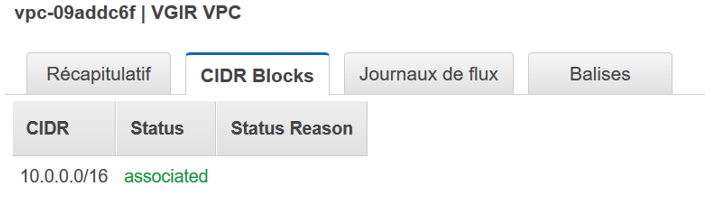
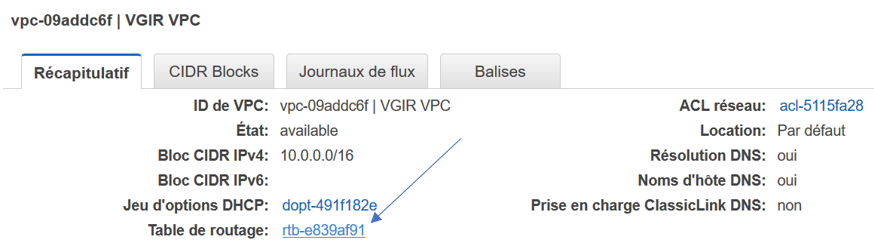
In VPC
A VPC, of course has been created :

It’s managing the 10.0.xxx.xxx adresses :
It has a main route table :
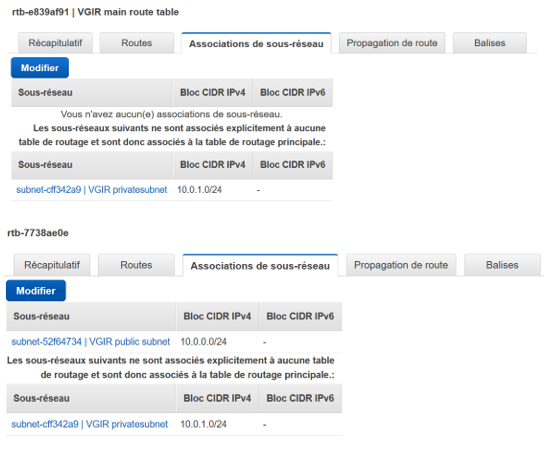
In Subnets
They have been created as requested
Configuration : VPC > subnet
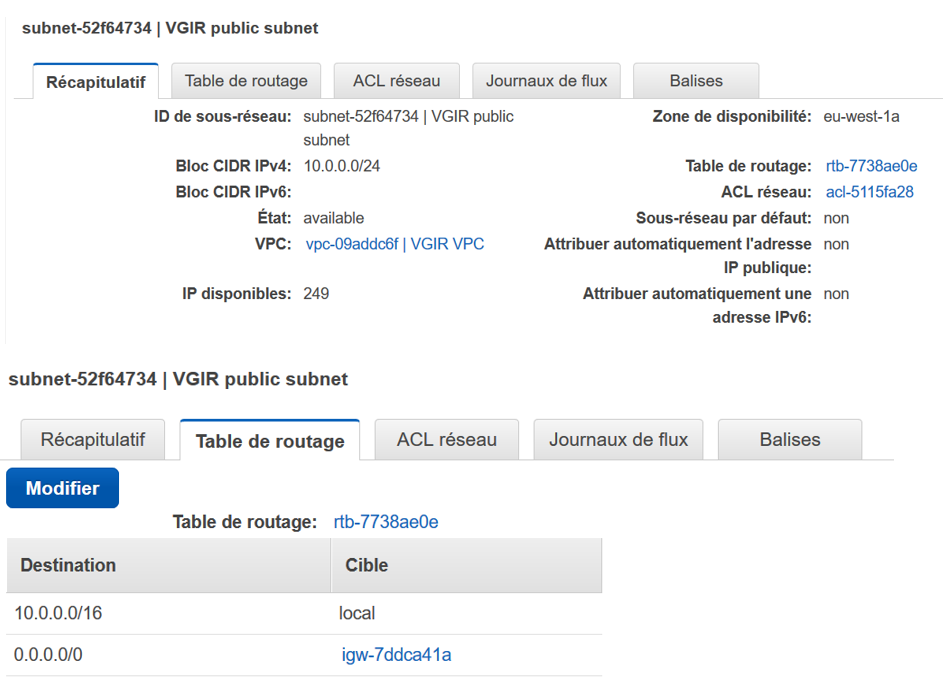
Public Subnet:
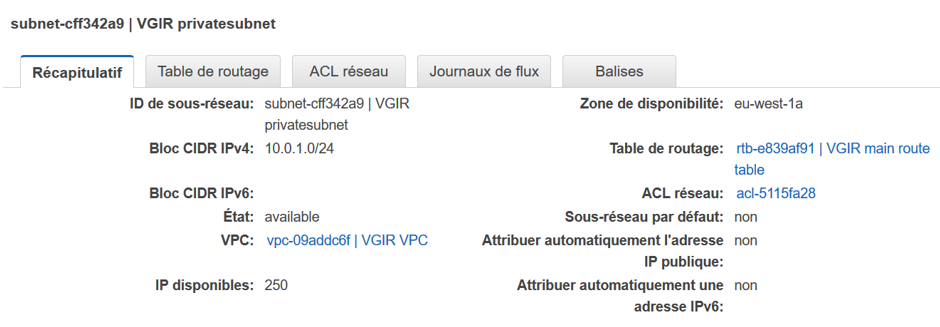
Private Subnet:
The route tables are explained in the following paragraph
In route table
Configuration : VPC > route table
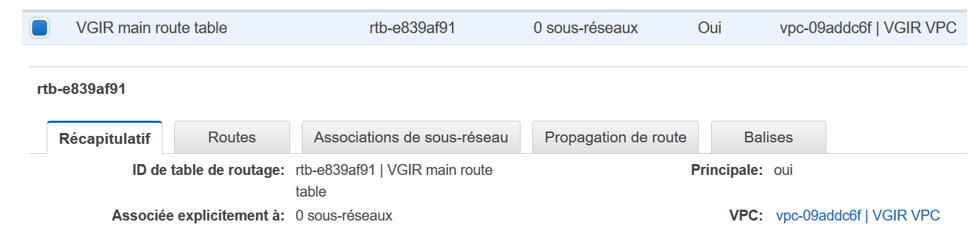
Thanks to the wizard, the NAT instance has already been attached to it: remark, AWS displays only its ID, check in EC2 if you have doubt

As the private subnet has been placed by the wizard inside the main route table, it is already benefiting from the NAT instance :

The wizard has set up the private subnet in the secondary route table, and through an internet gateway : this could be changed , and use the NAT if we wish so :
In internet Gateway
As mentioned previously, even if we asked the wizard for a NAT instance, he created an internet gateway for the public subnet.

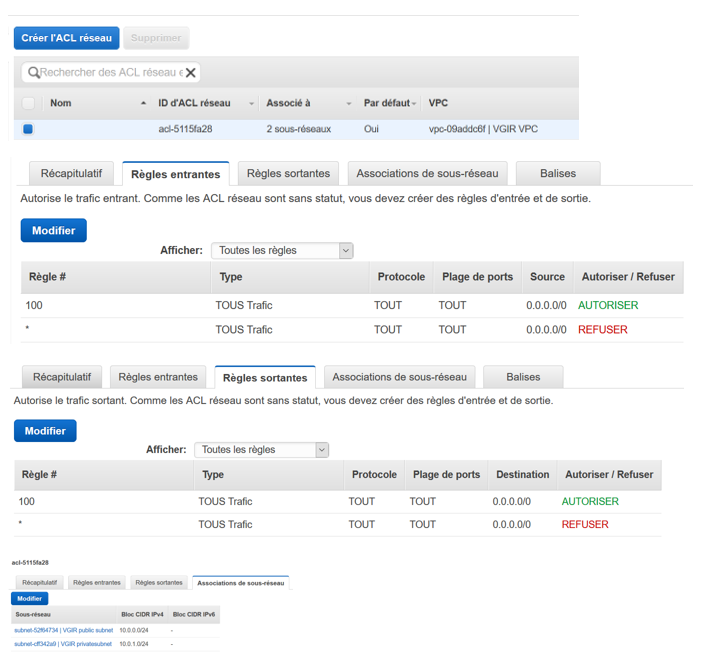
In ACL Network
It has been created by the wizard :
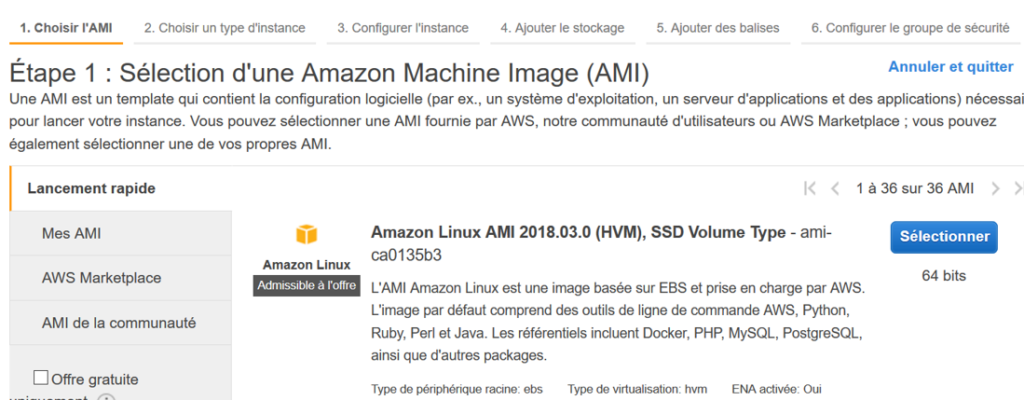
Bastion creation
Configuration : EC2 > Dashboard > launch an instance

Choose a linux AMI :
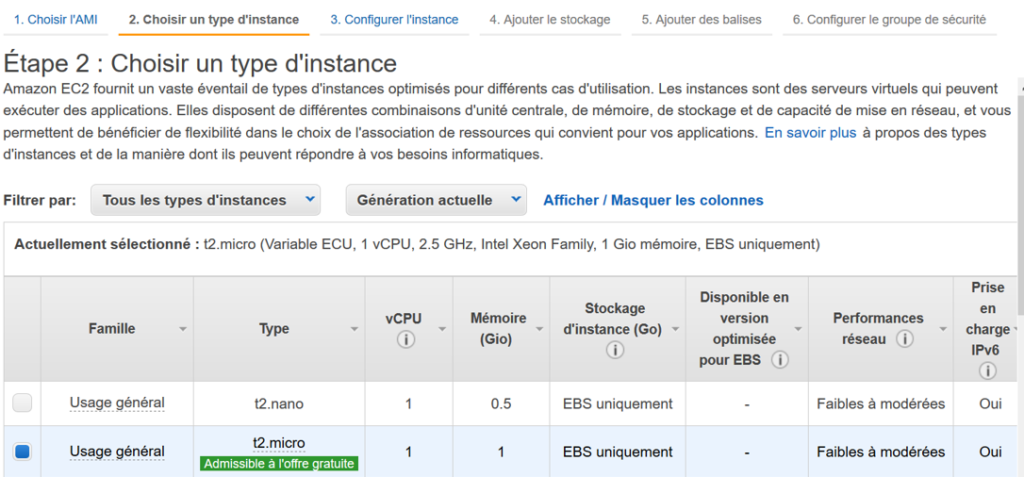
Choose your instance type :
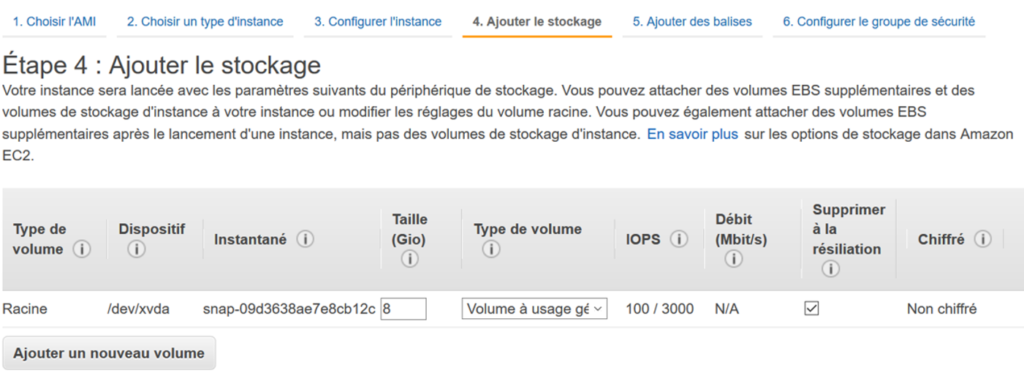
Keep storage « as is » :
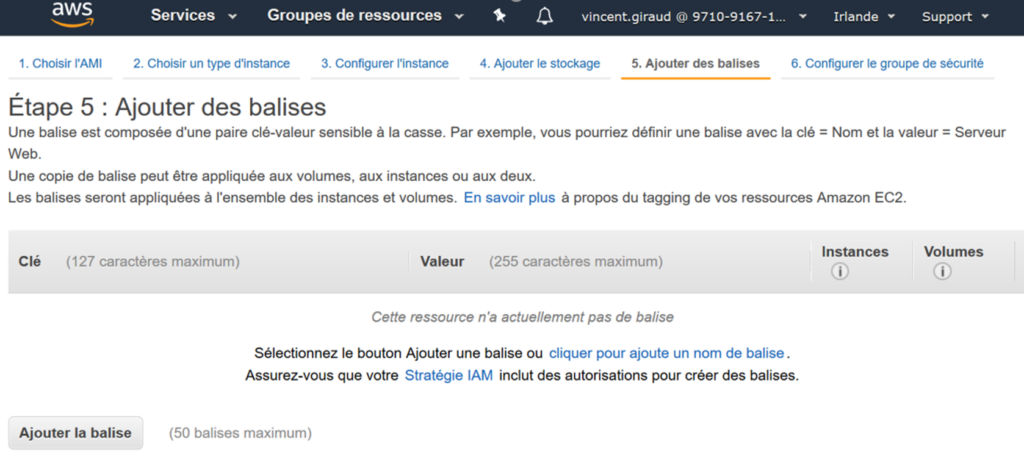
For better visibility of the instance, select :
Key : Name
Name : Your own description
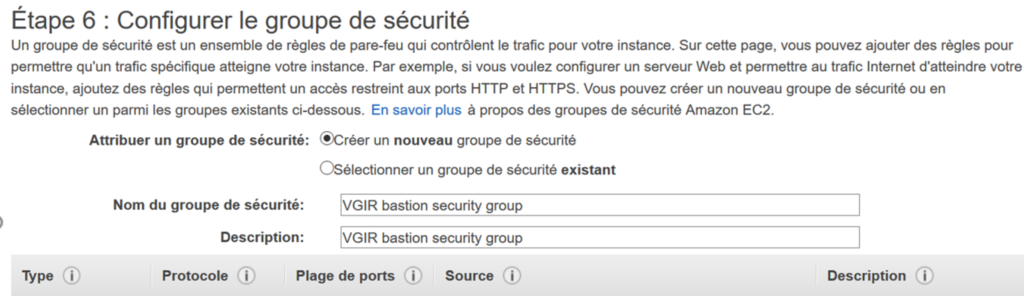
Rename the security group and its description :
As inbound we authorize only SSH, because we will use the bastion for entering into private instance with putty:

We are maybe too confident, and trust him (and by ricochet all the AWS network) :
We attach the second and last IP to the bastion :
Configuration : EC2 > elastic IP > action > allocate
It’s IP is 52.208.163.155

Steps for testing the ping to google.com
0 manual Check isolated instance has no internet IP
All instances are running :

Isolated instance has no internet IP:

1 manual Connect to bastion through SSH
Run Putty
IP address is bastion’s :

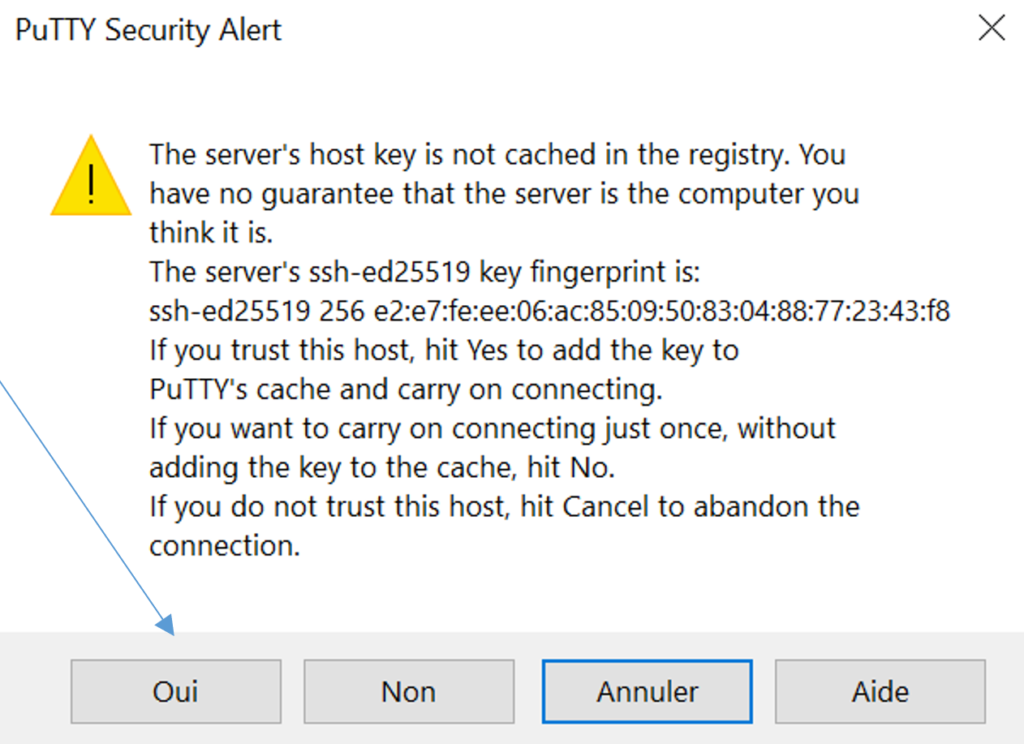
For security, add the pair keys :

Message is ok :
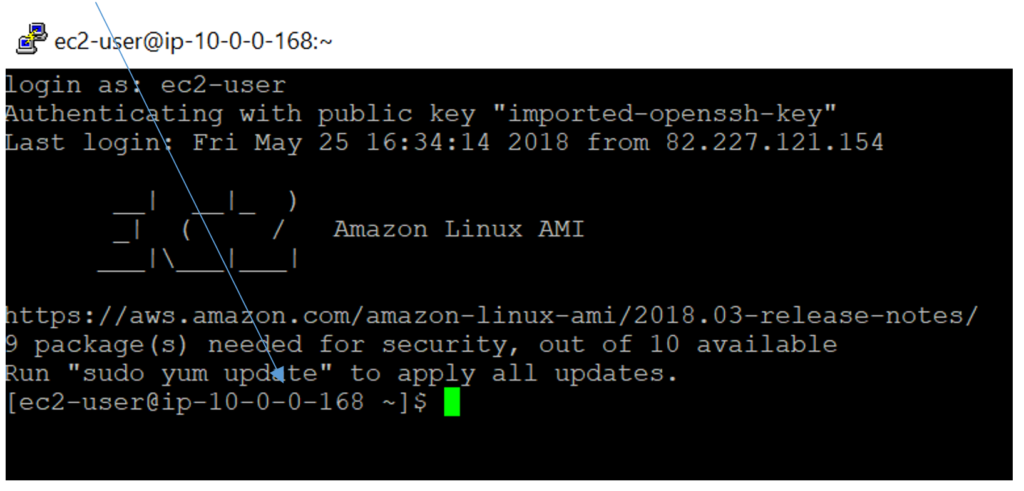
For this AMI linux, the user is ec2-user :
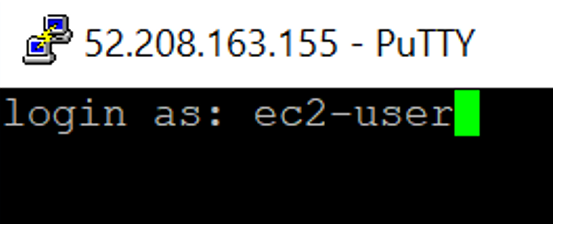
You’re in bastion:
2 manual Connect to isolated instance through bastion
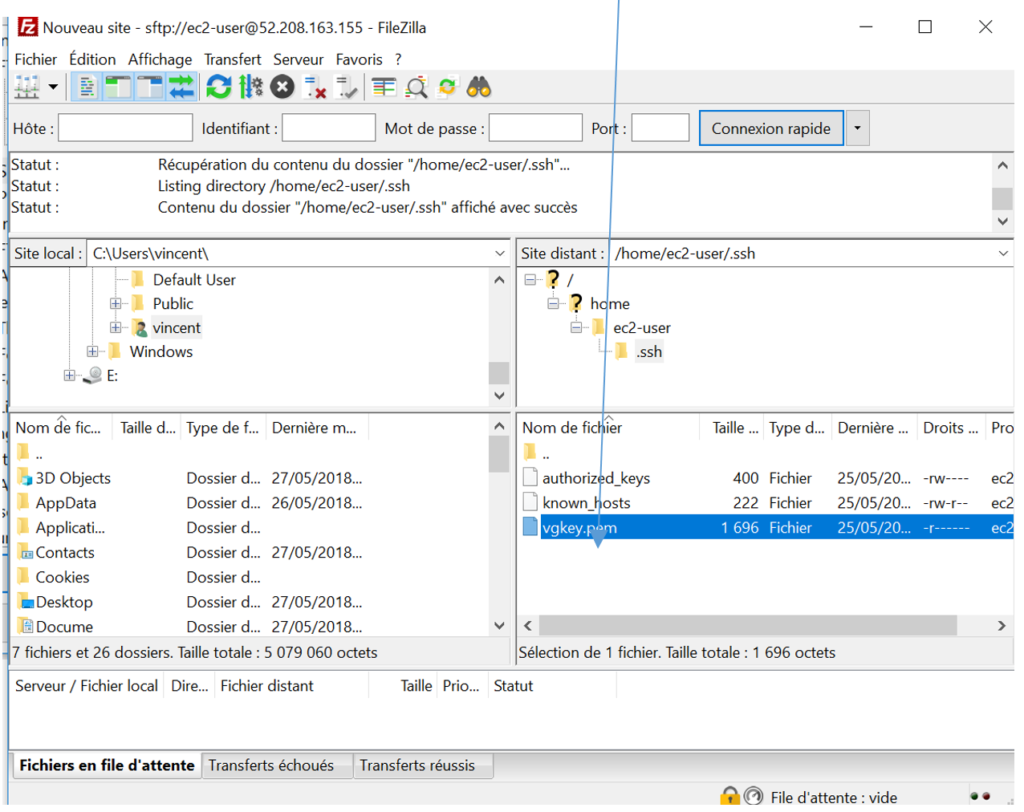
The very first time, add FileZilla with SFTP protocol as the pairing key to grant access. Here, we have chosen the same key between all instances, it simplifies when creating a connection with :

We need to place the key pair too :

Drop the key inside the bastion in .pem format, as this is in the AWS area: here, we have chosen /home/ec2-user.
In console, remember we are still in bastion, activate the key and SSH-connect to the isolated instance with the 3 command lines :
Go to the right directory
cd /home/ec2-user/.ssh
With authorization management, activate the right key
chmod 400 vgkey.pem
file name of key
SSH-connect
ssh -i vgkey.pem ec2-user@ 10.0.1.230
file name of key / linux user of isolated instance / network IP of isolated instance
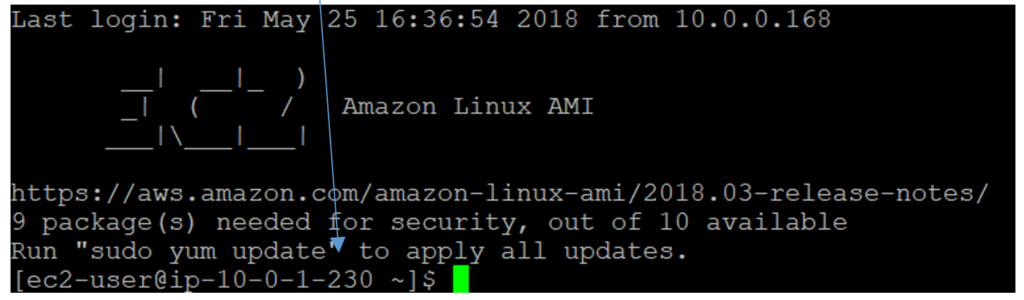
And now you’re in the isolated instance :
3 manual ping google.com inside isolated instance
4 automatic : isolated instance call NAT
Remember it’s automatic
5 : automatic NAT pings google.com, replacing the network IP with an internet IP
Remember it’s automatic
6 : automatic google.com answers to the call to NAT with the internet IP
Remember it’s automatic
7 : automatic NAT transfers google.com answers to isolated instance routing the IP
Remember it’s automatic
8 : manual User can check the call has been returned : no time to leave !

It’s confirmed, Google.com is answering to you, despite you are in a private VPC !
The isolated instance managed to communicate through the bastion.